Anamorphic Signage
Create large-scale signage that appears to change as you move around a space.
Creator
jess yurkoTags
signage (2)wayfinding (2)
place (2)
identity (2)
Ingredients
paint (2)projector (1)
pencils (1)


Directions
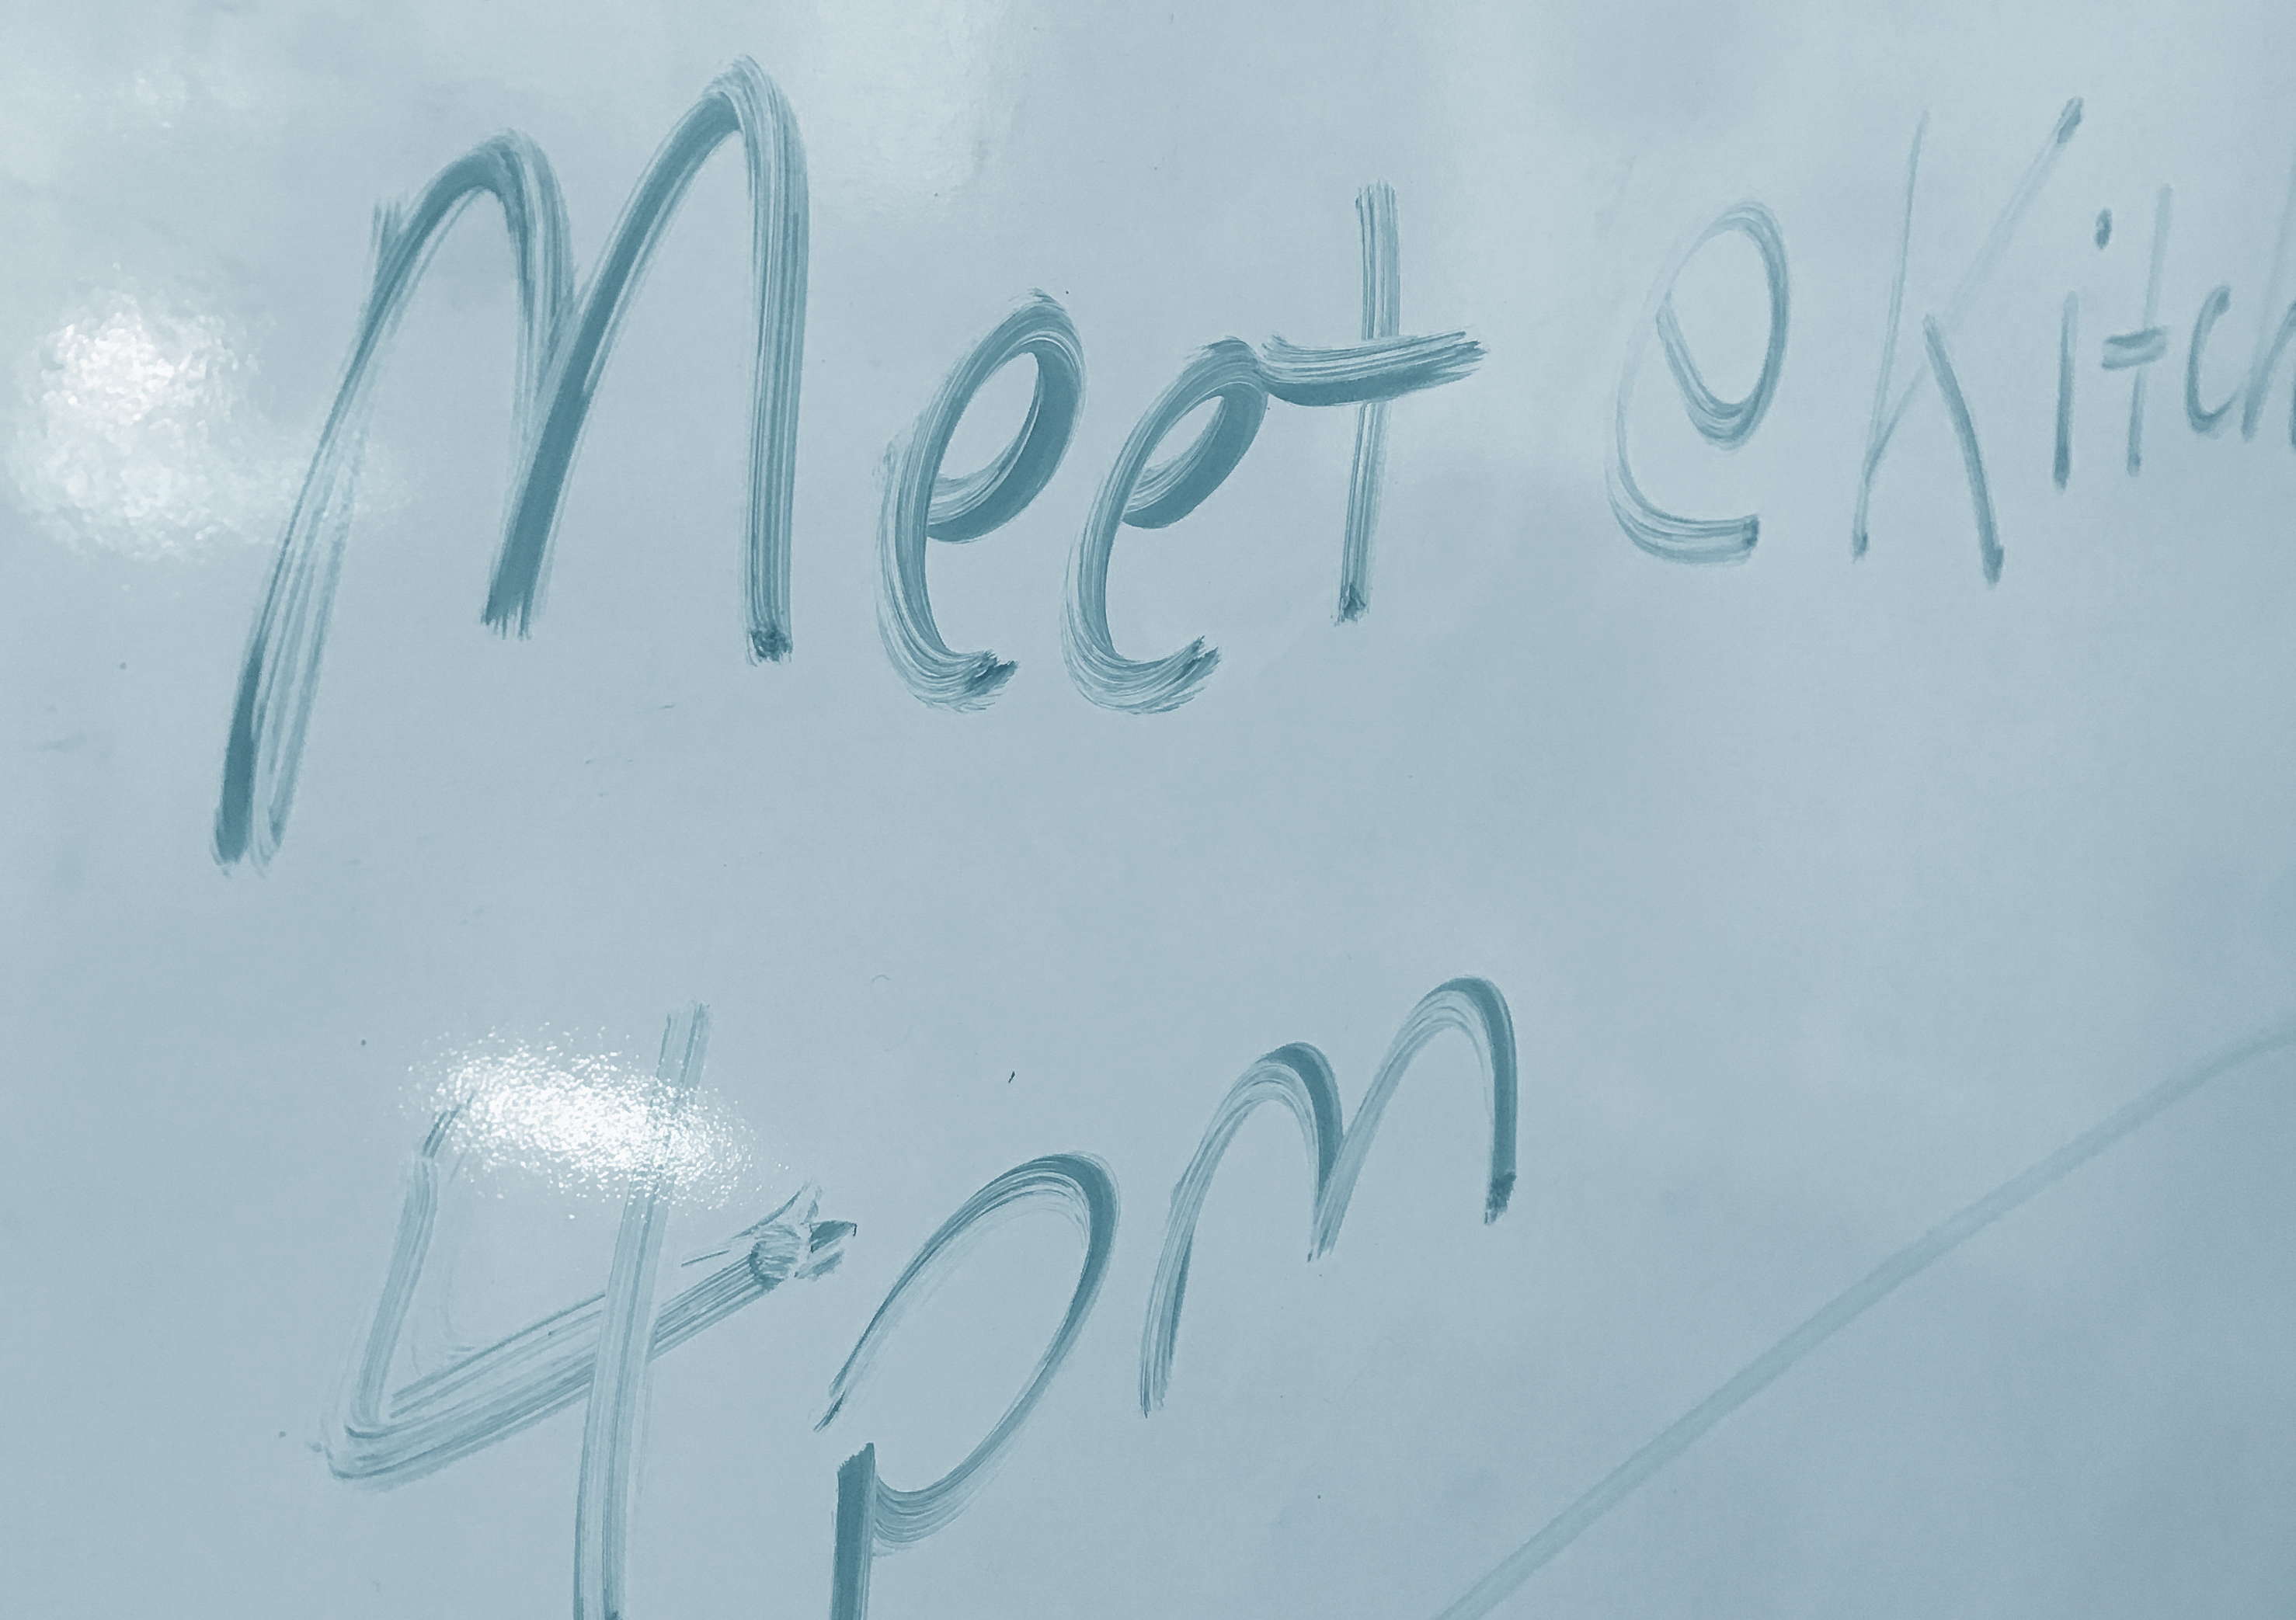
- Anamorphic: producing, relating to, or marked by intentional distortion... of an image (Merriam Webster)
- Decide what you want your sign to do. It might be for wayfinding, establishing the use of a space, or could just reinforce your library's graphic identity (e.g. name and logo).
- Create the graphic for your sign. You might do this by hand and scan or digitally (Inkscape and Illustrator are useful tools for this). Start with something fairly simply (not too many words). Bold geometric shapes work very well.
- Pick a location on the wall for your sign, ideally a corner (i.e. covering more than one surface). Think about how your graphic will interact with the elements around it. Is the shape right? Is it too complex?
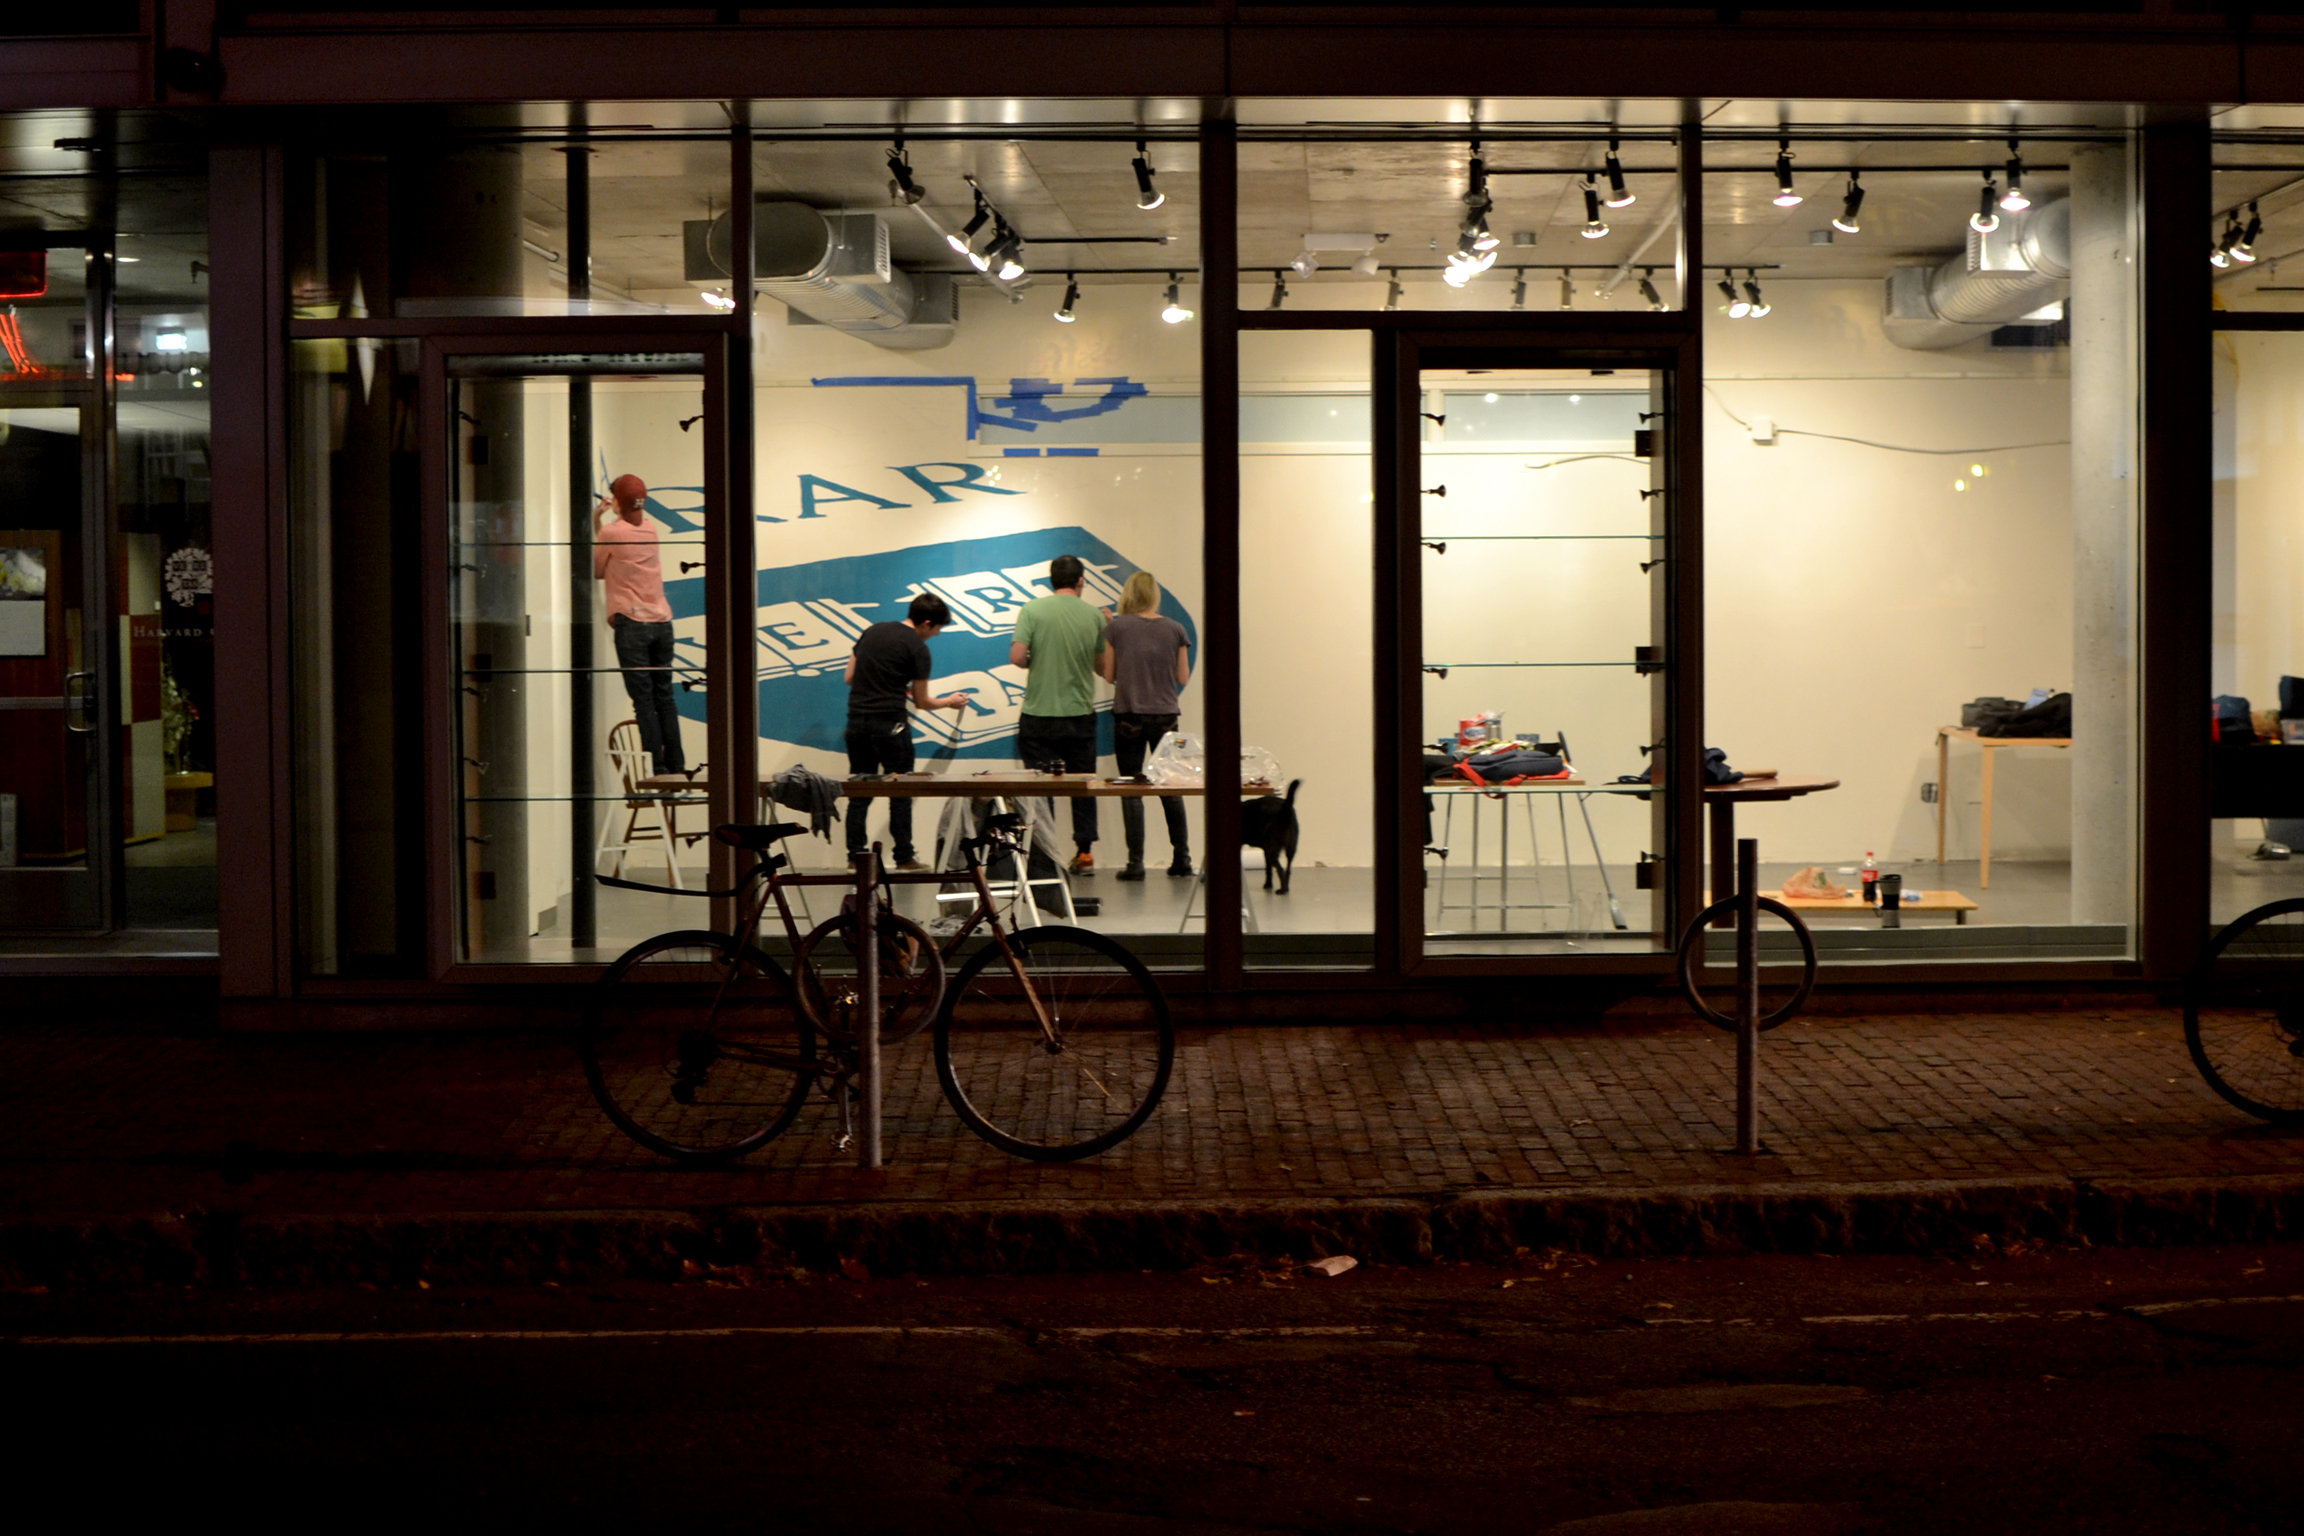
- Project your graphic onto the wall/corner from different points around the room. The graphic will look "correct" from the point of projection, but distorted from other locations. Walk around and experiment. Where does it make most sense to place the "correct" vantage point in your space? How does it look from other places in the room? Experiment with making the projection as large as possible for a more dramatic and visible effect.
- Once you've picked a spot you're happy with, set up the projector and trace the image onto the wall.
- Turn off the projector and paint, using your pencil lines as a guide. You may want to leave the projector as-is during this step in case you need to turn it on and double-check anything.
- Walk around the space and enjoy your anamorphic sign!